
For electronics repair beginners, choosing the right digital multimeter is about safety, fast continuity response, and fine probe access rather than buying expensive industrial gear. While generic hardware-store meters cost under ₱300, their sluggish continuity beepers and lack of ceramic fuse protection make board-level troubleshooting frustrating and hazardous. A dependable bench meter in the Philippines costs between ₱1,200 and ₱3,500, delivering instant short-circuit detection and reliable overload safety.
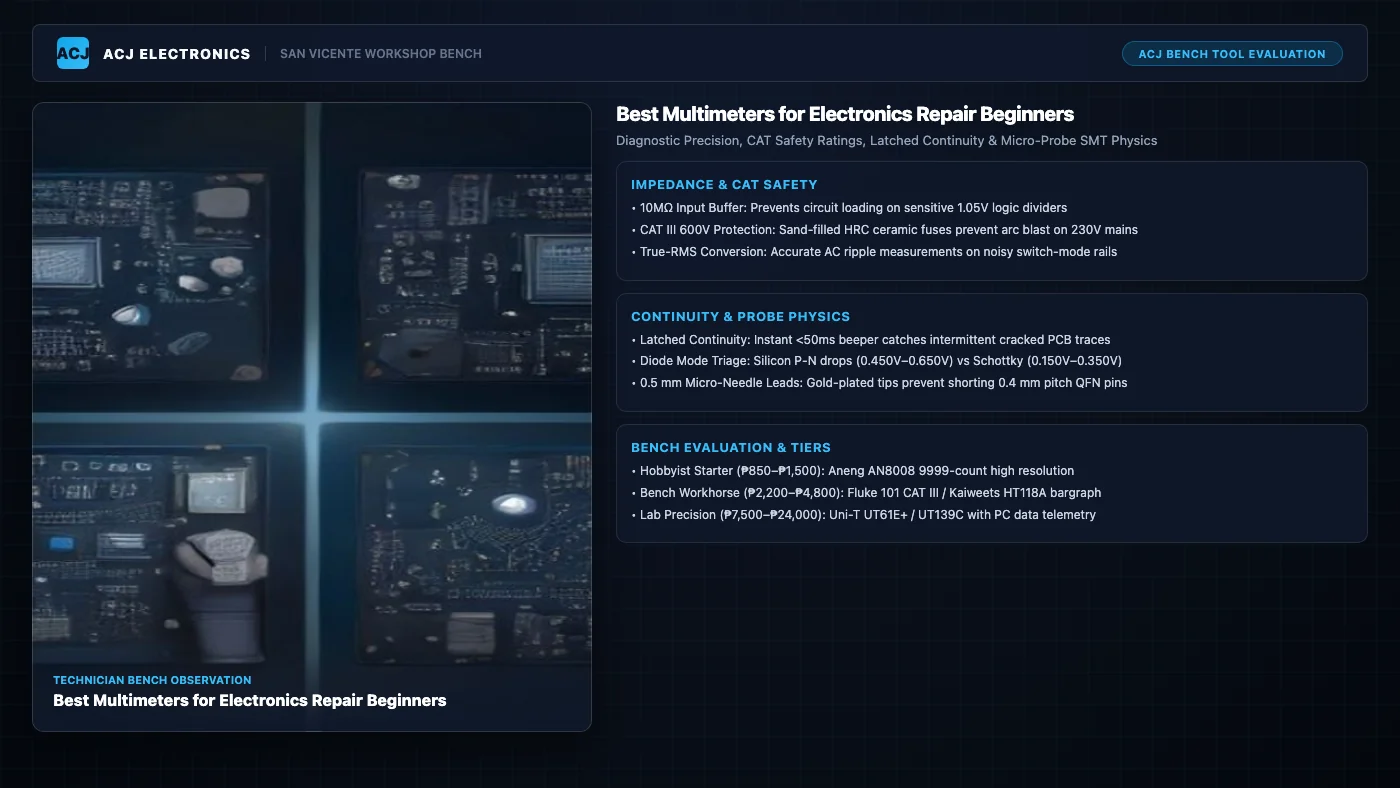
When apprentices or hobbyists visit our ACJ Electronics workshop in Poblacion, San Vicente, they often ask what test gear they need to start fixing circuit boards. The digital multimeter is always the first tool on the bench.
However, newcomers frequently stumble into two costly extremes: purchasing an ultra-cheap ₱250 yellow meter that blows up if you accidentally probe voltage on resistance mode, or spending ₱20,000 on an industrial electrician meter made for high-voltage breaker panels instead of fine electronics. Here is our practical bench guide to choosing an accurate, safe multimeter for electronics repair.
Essential Features for Electronics Circuit Triage
Electricians and electronics technicians have completely different multimeter needs. When troubleshooting smartphones, laptops, and power supplies, prioritize these four specifications:
- Instant, non-latched continuity beeper: Motherboard triage involves probing dozens of surface-mount capacitors in search of a dead short. If your meter has a 500-millisecond delay before beeping, tracing a shorted power rail takes hours. A quality electronics meter beeps the microsecond your probe tip makes contact with copper.
- High-impedance 10-megohm input: Measuring sensitive signal lines on microcontrollers requires a meter that draws negligible current. Standard digital meters feature 10MΩ input impedance, ensuring your measurement does not distort the circuit under test.
- High-rupture ceramic fuses (HRC): Accidents happen when probing tight components. If you touch an energized rail while your meter is accidentally set to current mode, cheap glass-tube fuses can explode into plasma. Proper meters use ceramic fuses filled with silica sand that quench electrical arcs instantly.
- Diode test voltage above 2.5V: Diode mode is how technicians verify semiconductor junctions and illuminate surface-mount LEDs during circuit tracing. Make sure the open-circuit test voltage is at least 2.5V to 3.0V.
Recommended Multimeter Categories in the Philippines
Here is how the most practical multimeter options compare for repair workbench use:
| Multimeter Tier | Representative Models | Typical Cost (PHP) | Key Strengths on the Bench |
|---|---|---|---|
| Budget Entry Bench | Aneng AN8008, Uni-T UT136B+, Zoyi ZT102 | ₱1,200 to ₱1,800 | Compact, True RMS, fast auto-ranging, affordable for beginners |
| Mid-Range Workshop Workhorse | Uni-T UT61E+, Sanwa CD771, Brymen BM235 | ₱3,200 to ₱6,500 | Superb input protection, robust ceramic fuses, high accuracy |
| Compact Field Meter | Fluke 101, Fluke 107 | ₱2,800 to ₱4,500 | Drop-resistant durability, simple interface, reliable brand trust |
The First Upgrade You Must Make: Micro-Needle Probes
Most multimeters ship with standard 2mm blunt testing leads designed for household wall sockets and automotive wiring. Trying to probe a 0402 surface-mount capacitor or a smartphone battery connector with blunt leads is nearly impossible. The thick metal tip slips off the joint and shorts adjacent power pins, destroying the device you are trying to test.
Set aside ₱250 to ₱450 for a set of gold-plated, ultra-sharp 0.5mm micro-needle test leads. These needle-sharp tips pierce oxidized solder joints, bite into tiny component pads, and prevent destructive slips during live board probing.
Common Multimeter Pitfalls to Avoid
- Never probe voltage with leads in current jacks: Plugging the red lead into the 10A current socket connects a dead short across your probes. If you touch an energized power supply rail, you will blow the internal fuse instantly.
- Always discharge bulk capacitors before measuring resistance: Probing resistance across a charged filter capacitor on a power supply board will blow the meter’s protective input components. Always verify zero volts before taking resistance readings.
- Avoid ultra-cheap unbranded meters: Meters sold for ₱200 to ₱300 lack input protection, have fragile test leads that snap internally, and display erratic readings as their 9V battery drops below full charge.