
Start with tools that help you inspect and measure safely: precision drivers, plastic opening tools, good light, ESD protection, and a suitable multimeter. Learn on unpowered, low-risk tasks first. Add soldering equipment only after practice. Stop when a battery is swollen, liquid is present, a circuit is mains-connected, or the fault is unclear.
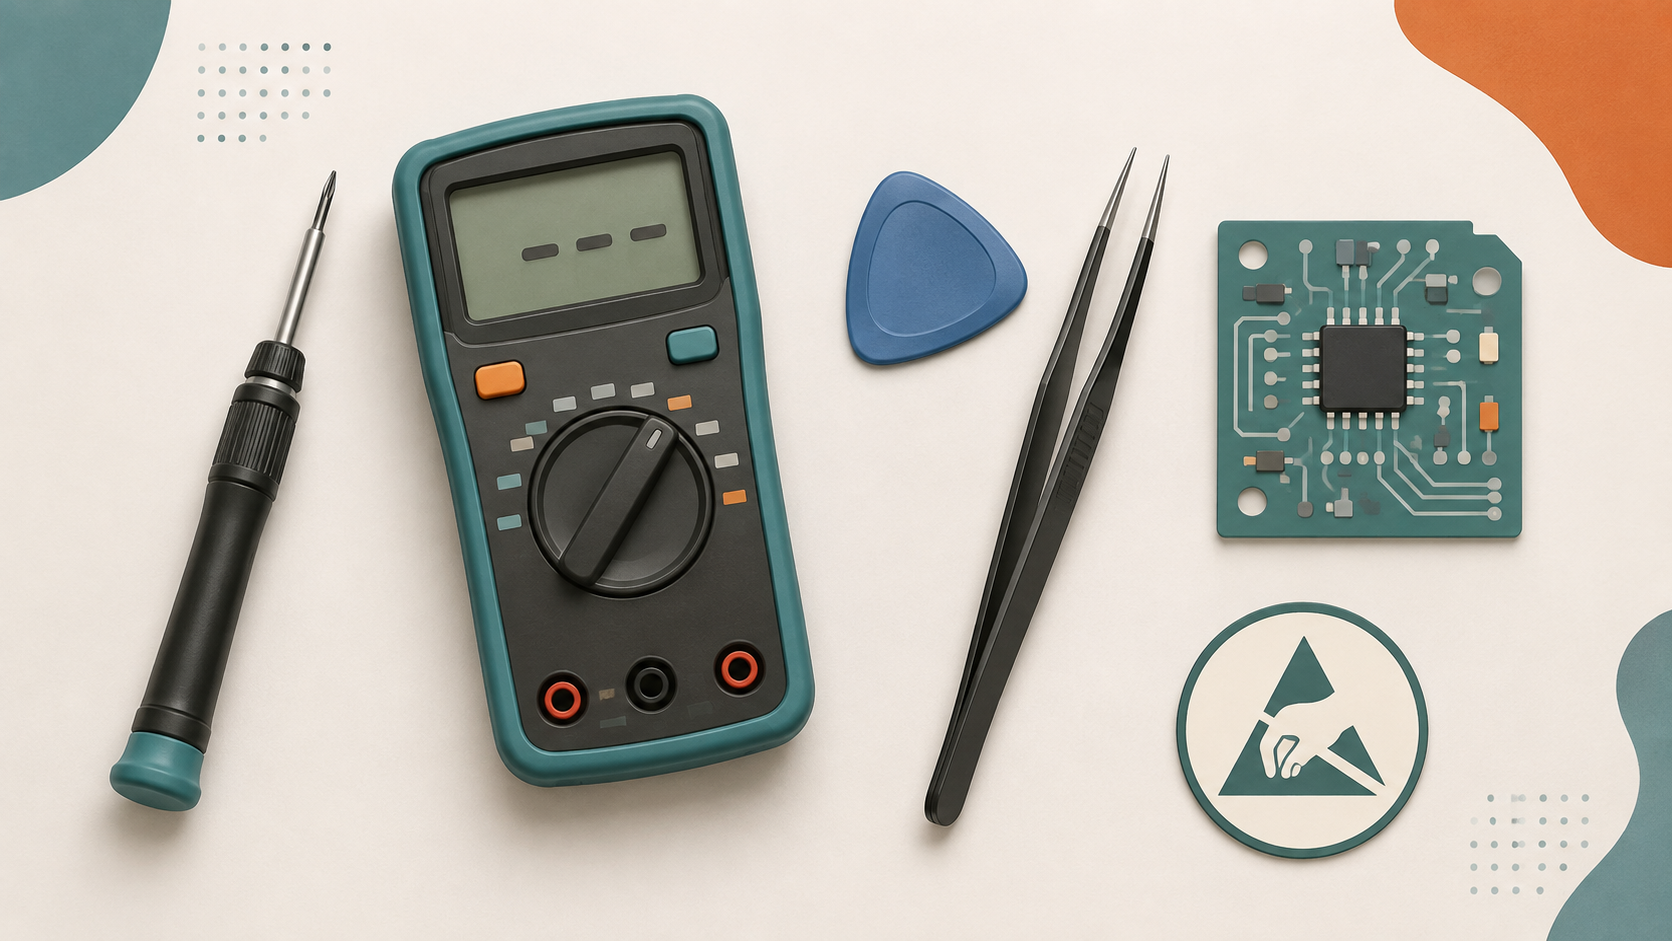
This hub helps you choose the next safe skill instead of buying a large kit and attempting work beyond your current experience.
Start with the skill, not the most expensive tool
A tool is useful when you know the question it can answer.
A driver set can help you open a device without damaging its fasteners. A multimeter can help you check a disconnected cable or fuse. A soldering iron can make a repair possible, but it can also damage pads, connectors, plastics, and batteries when used without practice.
Use the electronics troubleshooting guide before opening a device. It starts with the symptom and safe first checks, so you can decide whether a tool is needed at all.
A beginner-safe starter bench
These tools support inspection and careful disassembly. They do not make live electrical work or board repair safe.
Precision driver set
Useful for: Removing compatible screws.
Boundary: Stop if a screw is stripped, hidden, or requires force.
Plastic opening picks and spudgers
Useful for: Separating clips and adhesive carefully.
Boundary: Do not pry near a swollen battery or damaged screen.
Tweezers and a parts tray
Useful for: Handling small screws and organizing parts.
Boundary: Keep metal tools away from powered boards and exposed battery contacts.
Good lighting and simple magnification
Useful for: Checking labels, connectors, corrosion, and visible damage.
Boundary: Inspection cannot confirm an electrical diagnosis by itself.
Suitable digital multimeter
Useful for: Basic continuity and resistance checks on unpowered circuits.
Boundary: Do not use it on mains-connected or unknown live circuits.
ESD workstation equipment
Useful for: Reducing static-control risk while handling exposed components.
Boundary: It is not shock protection and must be used as a proper system.
Back up important files before disassembly when the device still starts. Use a clear work surface. Keep screws grouped by location. If you cannot explain what a step is meant to confirm, pause before taking it.
For a repeatable first pass, use the safe DIY troubleshooting checklist.
Learn multimeter use before board repair
A multimeter is a diagnostic tool, not a shortcut to a diagnosis.
Begin with the multimeter guide and learn what continuity, resistance, diode, and voltage modes actually mean. Resistance, continuity, and diode checks belong on circuits with power removed.
Voltage measurement needs more care. Check the meter manual, function, range, leads, probe condition, and category rating before use. Meter and lead ratings must fit the measurement environment. Do not use this hub as instruction for wall outlets, mains-connected chargers, power supplies, high-voltage capacitors, or other live electrical work.
A good rule is simple: measure only when you know what reading you expect and what the result will change next.
Treat ESD control as part of the workspace
Static damage may not be visible. That is why exposed boards, chips, and connectors should be handled with a suitable ESD-control setup.
Read the ESD protection guide before relying on a wrist strap or mat. Use purpose-built equipment according to its manufacturer instructions and verify the setup when the equipment requires it.
Do not improvise a grounding connection. A wrist strap is not protection from electrical shock, and it does not make mains-connected work safe.
Add soldering only after diagnosis and practice
Soldering is not the first response to a fault.
Use it only when you have identified a repair that genuinely needs heat and board work. Practice on disposable material before working on a device that matters. Learn tip care, flux use, joint inspection, and cleanup through the soldering guide and the flux guide.
Work with effective ventilation, follow the safety information for the materials you use, and wash hands before eating or drinking. Do not solder near a swollen, leaking, hot, or damaged lithium-ion battery.
Stop if the work requires hot-air rework, pad repair, connector replacement, or repeated heating without a clear result.
Advanced bench tools solve different problems
A microscope, bench power supply, thermal tool, boardview, or hot-air station can be valuable. They are not beginner upgrades by themselves.
Hot-air station
It can support: Controlled component removal and rework.
Why it needs more skill: Heat can damage nearby parts, pads, shields, and batteries.
Bench power supply
It can support: Controlled diagnostic power input.
Why it needs more skill: Incorrect settings or connections can worsen a fault.
Microscope
It can support: Inspection of small joints and components.
Why it needs more skill: Seeing a fault is different from repairing it safely.
Schematics and boardviews
It can support: Tracing a known circuit path.
Why it needs more skill: They require accurate component identification and measurement logic.
The next learning step for circuit interpretation is how to read electronics schematics. For identifying parts before any replacement decision, use the component identification guide.
When to stop and seek diagnosis
Do not continue DIY work when you find:
- A swollen, leaking, overheating, smoking, or damaged battery.
- Liquid residue, corrosion, or an unknown source of contamination.
- A mains-connected power section, high-voltage capacitor, or damaged charger.
- A device that will not power on and has no clear external cause.
- Lifted pads, damaged connectors, or board-level faults.
- Important data that could be lost through further testing.
These are not failures of patience. They are good stop points.
For help beyond safe beginner checks, review ACJ Electronics repair services or contact ACJ Electronics with the device model, exact symptom, and any visible damage.
Frequently asked questions
Do I need a soldering iron to begin?
No. Begin with inspection, safe disassembly, ESD handling, and multimeter fundamentals. Buy soldering equipment when you have a defined repair task and safe practice material.
Is a low-cost multimeter enough?
This hub does not endorse specific models. Choose a meter and leads appropriate to the measurements you understand and the environments you will avoid or work in. Never assume a low-cost meter is suitable for mains-related testing.
Does an ESD strap make every repair safe?
No. ESD control addresses static risk. It does not protect you from electric shock, battery hazards, heat, liquid damage, or incorrect measurement.
Why does this hub not recommend product models?
ACJ has not supplied verified ownership, evaluation, or test-method evidence for individual tools. Product-review guidance should wait until those inputs exist.