
Laptop keyboard repair in the Philippines typically costs ₱450 to ₱900 for single-key or ultrasonic cleaning, ₱950 to ₱1,800 for modular screw-in keyboards, ₱1,800 to ₱3,500 for melted plastic rivet palmrest replacements, and ₱3,500 to ₱7,500+ for full top-case gaming assemblies. In Poblacion, San Vicente, Ilocos Sur, Angelo Carlo A. Jacinto (BS ECE, NC II) provides component-level matrix testing, rivet re-staking, and transparent repair triage.
A failing laptop keyboard disrupts daily work instantly. Whether individual keys refuse to register, an entire row types random characters, or a morning coffee spill leaves keys permanently stuck, typing becomes impossible. Getting an accurate quote in the Philippines requires understanding how different laptop keyboards are built, how technicians diagnose matrix faults, and what hardware replacement involves.
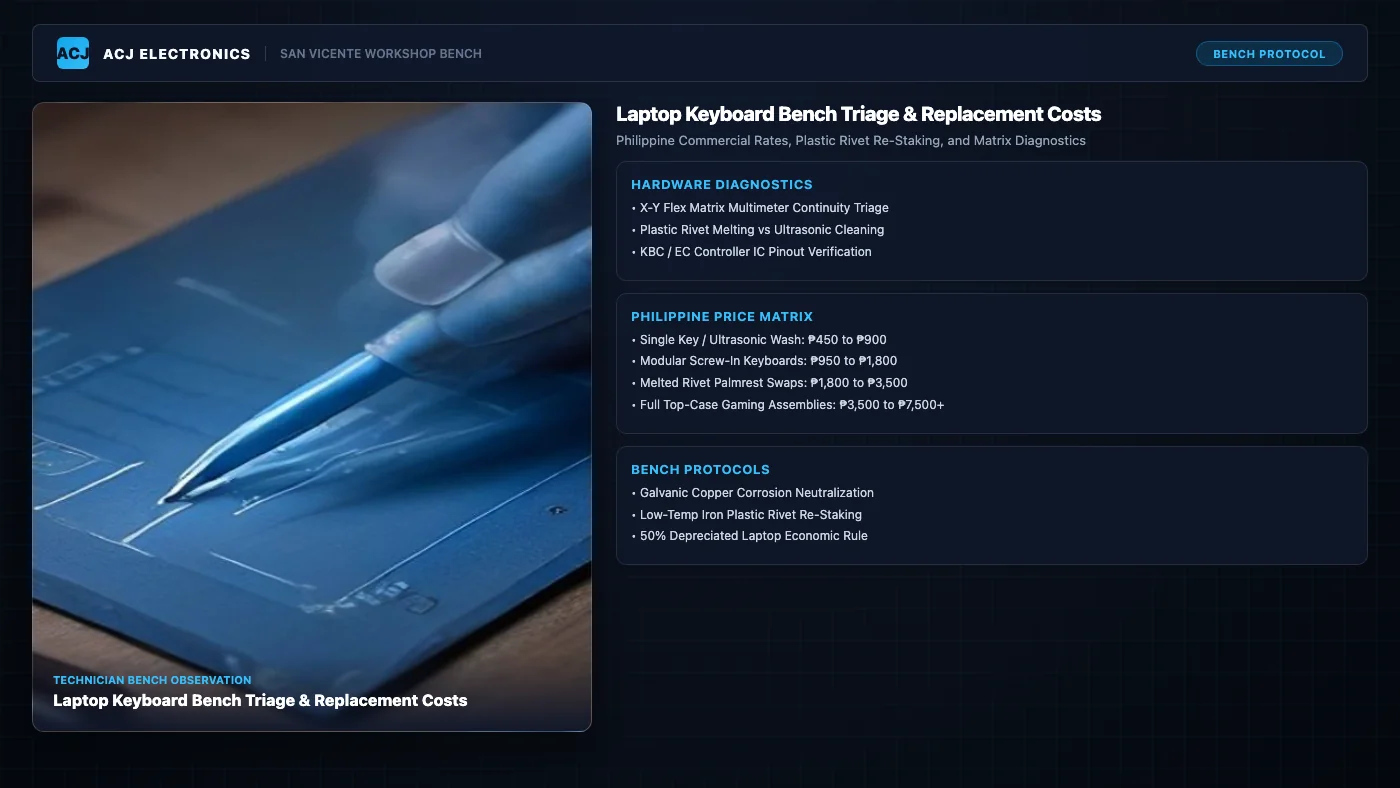
Diagnostic Triage: Component-Level Keyboard Fault Isolation
Before ordering an entire replacement palmrest or declaring a motherboard broken, a skilled electronics technician isolates the exact failure mechanism. A keyboard is not just a collection of plastic caps; it is a passive electrical matrix interfaced with a dedicated microcontroller on the motherboard.
On our San Vicente workbench, we isolate keyboard failures through four core hardware diagnostic steps:
1. Matrix Trace Continuity and Ghosting Diagnosis
Membrane chiclet keyboards do not run a dedicated wire from every key switch to the motherboard. Instead, they organize keys into an electrical grid of X-axis rows and Y-axis columns printed with conductive silver ink on flexible polyester sheets.
When you press a key, a rubber dome collapses and pushes a conductive contact pad down, bridging the intersection between a specific row trace and column trace. The microcontroller scans these lines thousands of times per second:
- Single Open Trace: If one silver ink trace fractures from mechanical fatigue or drop trauma, an entire line of seemingly unrelated keys goes dead simultaneously (for example: Q, W, E, R, U, I, O, P all failing together).
- Inter-Trace Bridging (Ghosting): If conductive liquid or fine metal dust seeps between adjacent traces, pressing one key triggers multiple characters or activates unintended shortcuts (such as pressing “T” and getting “t5” or activating the system mute function).
- Multimeter Flex Scanning: We remove the flat flexible cable (FFC) from the motherboard ZIF connector and test continuity across the silver contact pins with fine multimeter probes. If we detect open circuits across key row-column intersections while the key is pressed, the internal membrane has failed.
2. The Physics of Plastic Rivet Melting vs Soldering Iron Re-Staking
In older business laptops (such as classic Lenovo ThinkPads or Dell Latitudes), replacing a keyboard took five minutes: remove two bottom chassis screws, slide the keyboard up, and release the ribbon cable. Today, nearly 85% of consumer ultrabooks (Asus ZenBook, Acer Swift and Aspire, HP Pavilion, Lenovo IdeaPad) use melted plastic rivet construction.
Manufacturers place the keyboard into the aluminum or polycarbonate palmrest, set a galvanized steel backing plate over it, and feed dozens of tiny plastic studs through pre-punched holes. An ultrasonic welding horn then melts the plastic stud heads flat, permanently sandwiching the keyboard to the top case.
Replacing these keyboards requires specialized workshop patience:
- Controlled Rivet Removal: The technician must slice or gently melt the flattened plastic heads with a micro-chisel or low-heat flush cutter without snapping the underlying plastic posts off the palmrest.
- Re-Staking the New Keyboard: After seating the replacement keyboard, each remaining plastic stud must be re-formed. Using a dedicated low-temperature tip (around 180°C to 200°C), we compress and re-mushroom the plastic studs over the steel backing plate.
- Soldering Tip Contamination Caution: Melting plastic with a standard soldering tip used for electronics destroys the tin plating, causing tip oxidation and solder dewetting. We use dedicated brass sculpting tips reserved strictly for plastics.
- Reinforced Structural Bonding: Where factory plastic studs are missing or brittle, we apply high-strength UV-curable structural resin or industrial cyanoacrylate dots at key perimeter anchor points. This prevents the bouncy, mushy keyboard flex that ruins typing feel after poor DIY repairs.
3. Sticky Keys from Liquid Spills: Sugar Residue vs Galvanic Corrosion
Liquid spills represent the single most common cause of keyboard failure on our repair counter. However, the type of liquid determines whether the keyboard can be saved or must be replaced:
- Pure Water: If the laptop is shut down immediately, battery disconnected, and completely dried before turning back on, pure water rarely destroys the keyboard membrane. It leaves minimal residue once evaporated.
- Sugary Coffee, Milk Tea, or Soda: Sugar and milk do not evaporate cleanly; they dry into a tacky, viscous syrup. This caramelizes inside the pantograph scissor mechanisms and rubber domes, causing keys to stick down physically. If the spill occurred recently, disassembling the keycaps and running the scissor mechanisms through an ultrasonic cleaner with 99.7% electronic-grade isopropyl alcohol can free the keys for ₱450 to ₱900.
- Galvanic Corrosion Under Power: If the laptop remains powered on while liquid sits on the keyboard, electric current flows through the wet silver ink traces. This triggers rapid electrochemical migration and galvanic corrosion. Within hours, the thin silver conductive traces dissolve completely, leaving permanent black gaps. Corroded conductive ink cannot be reliably soldered; the entire keyboard assembly must be replaced.
4. Keyboard Controller IC (EC / KBC) Pinout Diagnostics vs Keyboard Hardware Faults
Sometimes a keyboard is replaced with a brand-new factory unit, but specific keys still do not work. In these cases, the problem lies on the motherboard inside the Embedded Controller (EC / KBC chip, commonly manufactured by ITE, Nuvoton, or ENE).
The EC chip contains dedicated General Purpose Input/Output (GPIO) pins mapped directly to the keyboard connector. Key diagnostic indicators include:
- Blown ESD Protection Arrays: Static discharge from a user’s fingertips can travel through the key stems into the keyboard connector, shorting the tiny clamping diodes protecting the EC input pins.
- Liquid Damage Around the KBC IC: Liquid that trickled past the keyboard backing plate often pools near the motherboard controller. Corroded pins on an ITE IT8586E or Nuvoton NPCE chip pull keyboard scanning lines low, disabling entire key matrices.
- Pinout Voltage Verification: We measure the pull-up voltage on the keyboard connector pins using a digital multimeter. Healthy scanning lines maintain approximately 3.3V standby. If a pin reads 0V or fluctuating low voltage with the keyboard disconnected, the fault is a shorted filter capacitor or damaged controller pin on the motherboard, requiring micro-soldering rather than another keyboard swap.
Philippine Commercial Laptop Keyboard Repair Price Matrix
Laptop keyboard repair costs in the Philippines depend on the mechanical mounting type, the availability of individual keyboards versus complete upper palmrest assemblies, and the labor required to transfer internal components. The table below details realistic commercial pricing across Philippine repair shops:
| Keyboard Construction & Device Category | Representative Laptop Models | Bench Procedures & Hardware Required | Typical Philippine Price Range |
|---|---|---|---|
| Ultrasonic Cleaning & Single-Key Mechanism Repair (Sticky scissor hinges, missing keycaps, gummy sugar residue) |
All laptop brands and models | Scissor hinge realignment, OEM keycap replacement, rubber dome reseating, ultrasonic isopropyl bath | PHP 450 to PHP 900 |
| Modular External / Screw-in Keyboards (Drop-in top-mount, secured by chassis screws or bezel clips) |
Older Lenovo ThinkPad (T440 to T480), Dell Latitude, HP EliteBook, older Acer TravelMate | Bottom chassis screw removal, top bezel release, direct ribbon disconnect, drop-in replacement | PHP 950 to PHP 1,800 |
| Melted Plastic Rivet Palmrest Keyboards (Ultrabook thin chassis, internal rivet mounting) |
Asus VivoBook/ZenBook, Acer Aspire/Swift, Lenovo IdeaPad, HP Pavilion/14s/15s, Dell Inspiron | Full motherboard, battery, and fan teardown; plastic rivet desoldering; backing plate re-staking; bonding | PHP 1,800 to PHP 3,500 |
| Full Upper Top-Case Assembly Swaps (Factory bonded keyboard, trackpad, and aluminum palmrest) |
Apple MacBook Air/Pro, Asus ROG/TUF gaming, Lenovo Legion, Dell Alienware, Razer Blade | Complete chassis transplant, transferring motherboard, display hinges, battery, and trackpad to new OEM top case | PHP 3,500 to PHP 7,500+ |
What Factors Drive Your Keyboard Repair Cost?
When you ask a technician for a keyboard quote, three primary hardware factors determine the final price:
- Backlight Integration: Simple non-backlit keyboards carry lower component costs (₱600 to ₱1,200 for the raw part). Backlit keyboards feature an extra diffuser layer, reflective backing, and secondary FPC power cable, increasing the part cost by ₱400 to ₱900. RGB per-key gaming keyboards carry higher premiums.
- Labor Complexity and Teardown Depth: Replacing a screw-in business keyboard takes 15 minutes of labor. Replacing a plastic-riveted keyboard on a modern ultrabook requires stripping the laptop down to bare metal: removing the battery, motherboard, heatsink, fan assembly, display hinges, and trackpad before reaching the 50 to 80 plastic rivets holding the keyboard.
- Regional Availability and Sourcing: Common models (such as Acer Aspire 3 or Asus X515) have keyboards stocked locally in Manila and provincial hubs. Rare, high-end, or foreign layout models (Japanese JIS or European ISO layouts) must be imported, which adds shipping transit time and customs costs.
The 50% Rule: Repair vs Replace Decision Framework
At ACJ Electronics, we follow an honest engineering philosophy: never spend more on a repair than what makes financial sense. If a laptop repair quote exceeds 50% of the computer’s current market value, we advise the customer to rethink the investment.
To help you evaluate your keyboard repair decision, consider these clear practical thresholds:
- Laptops Valued Above ₱15,000 (1 to 3 Years Old): Repair Recommended. Spending ₱1,800 to ₱3,500 to install a brand-new riveted keyboard on a modern machine restores 100% functionality and protects your primary productivity investment.
- Budget Laptops Valued at ₱8,000 to ₱12,000 (3 to 5 Years Old): Evaluate Total Health. If the battery is healthy, the screen is sharp, and an SSD is installed, spending ₱2,000 on a keyboard replacement makes sense. However, if the machine also suffers from thermal throttling, consult our guide on how to fix an overheating laptop before committing extra budget.
- Aging Laptops Valued Below ₱6,000 (5+ Years Old): External Keyboard Workaround. If your older laptop remains anchored to a home or office desk, investing ₱2,500 to ₱3,500 for a plastic-riveted repair is poor economics. You can purchase a compact, comfortable USB or Bluetooth external keyboard for ₱450 to ₱850. This gives you flawless typing without spending half the computer’s value on labor.
If you are also weighing screen or display repairs, compare these thresholds with our detailed guide on laptop screen replacement cost in the Philippines, or explore our full cross-device benchmarks on the Repair vs Replace Hub and Electronics Repair Pricing Hub.
San Vicente Workshop Bench Case: Acer Aspire 5 Coffee Spill Restoration
To see how component-level keyboard re-staking saves customers substantial money over full assembly swaps, review this real repair completed on our Poblacion, San Vicente workbench.
Customer Intake & Symptoms: A college student brought in an Acer Aspire 5 (A515-56) after accidentally spilling sweet 3-in-1 coffee across the bottom right corner of the keyboard. The Enter key, Spacebar, and several numeric keypad keys were completely unresponsive. An authorized service center had quoted ₱6,200, stating that the entire upper aluminum palmrest assembly had to be replaced as a single factory unit.
Bench Diagnostic Findings:
- We removed the bottom cover and disconnected the main 3-cell lithium battery immediately to eliminate any residual voltage across the motherboard rails.
- Inspecting the motherboard under a stereoscopic microscope revealed that the coffee had been stopped by the plastic keyboard backing sheet. The motherboard, DC-in jack, and RAM modules showed zero liquid ingress or corrosion.
- We removed the flat flexible cable from the keyboard ZIF connector. Testing the row and column pins with our digital multimeter in continuity mode confirmed open circuits across the Enter and Spacebar traces, caused by conductive ink corrosion beneath the rubber domes.
- Testing the 3.3V pull-up voltages on the motherboard KBC interface pins showed steady 3.28V to 3.31V, confirming that the motherboard ITE controller IC was completely undamaged.
Bench Repair Procedure:
- We stripped the internal components from the chassis: removing the cooling fan, heatsink, system board, and modular I/O sub-board.
- Under magnification, we carefully melted away 62 plastic rivet heads holding the galvanized steel backing plate using a temperature-controlled flat sculpting tip at 190°C.
- We lifted the damaged keyboard out and thoroughly scrubbed dried coffee residue from the interior aluminum palmrest using 99.7% electronic-grade isopropyl alcohol and lint-free swabs.
- We seated a brand-new OEM-specification backlit keyboard into the palmrest, ensuring perfect alignment across all 62 plastic mounting studs.
- We reinstalled the steel backing plate and carefully re-staked each plastic post, flattening the plastic heads down over the plate to ensure firm, flex-free support. For four studs that had snapped during factory molding, we applied precision structural bonding dots.
- We reassembled the laptop, reconnected the battery, and booted into a hardware testing environment. Every single key registered with balanced tactile actuation and crisp LED backlighting.
Repair Outcome and Savings: The total repair bill was ₱1,850 (₱1,150 for the brand-new backlit keyboard part plus ₱700 bench labor). The turnaround was completed within four hours. By opting for individual keyboard rivet re-staking instead of replacing the entire upper palmrest assembly, the student saved ₱4,350 while getting their laptop back in perfect working condition.
Professional Laptop and Computer Services in San Vicente, Ilocos Sur
Whether your laptop keyboard suffered a liquid spill, has non-responsive keys from wear and tear, or requires plastic rivet re-staking, careful bench diagnostics ensure you only pay for what actually needs fixing.
At ACJ Electronics, we provide transparent hardware servicing for portable computers, desktop workstations, and mobile devices. Check our workshop offerings for affordable laptop repair services, explore our hardware troubleshooting solutions for computer repair services, read our portable diagnostic guides on the Laptop Repair Hub, learn about our testing tools on the Tools and Skills Hub, or contact our workshop directly through our contact page.